 |
 |
 |
| << |
How to pa0nhc 20201006 |
|
|
|
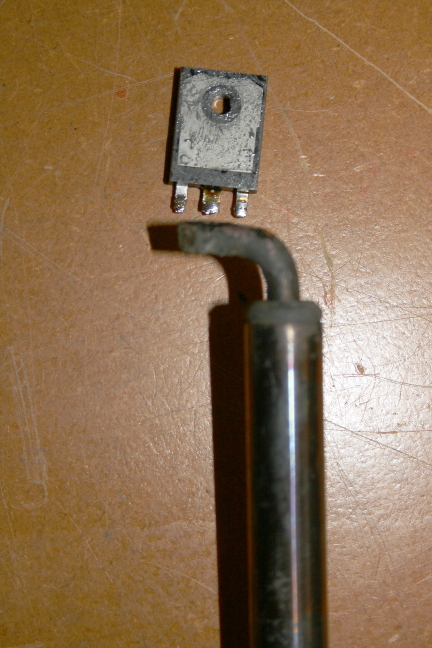
I needed to remove a TO-247 FET which was screwed onto a heath sink and soldered to the top surface of a PCB,
Removing the FET by desoldering each individual pin was nearly impossible without damaging the PCB tracks.
Another solution is cutting each pin by a small rotating grinding
disk and a Proxxon hand drill.
But it was difficult to reach all pins due to lack of
space, and the PCB was contaminated by dust was spread over the PCB.
A better solution is to remove the screw, then at the same time melt the solder at all three pins, and shift the transistor away.
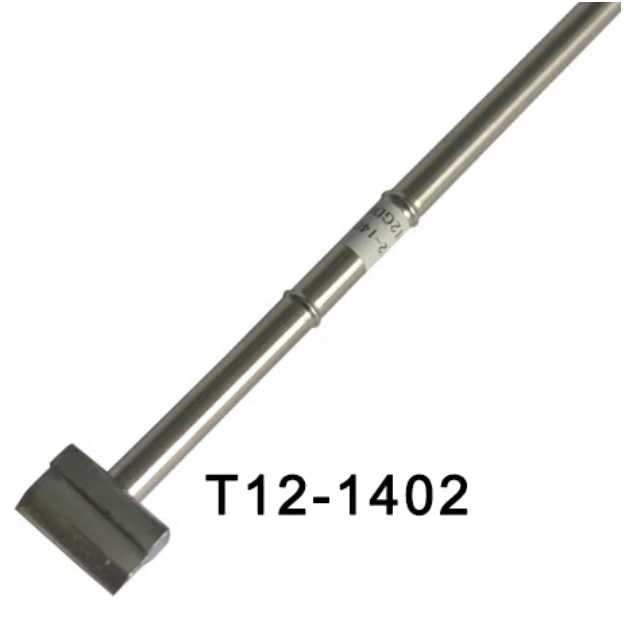
A 15mm wide desoldering tip is usefull, and i ordered a T12 desoldering tip with a 15mm wide head at Alliexpress. But delivery takes more than a month.
In a Youtube video, someone used a very cheap electrical soldering iron, and exchanged the soldering bit for a home made with twisted copper wire. I have such a simple 230V~60W soldering iron in a junk box.
I tried to make such a bit from copper wire, but i was not satisfied.
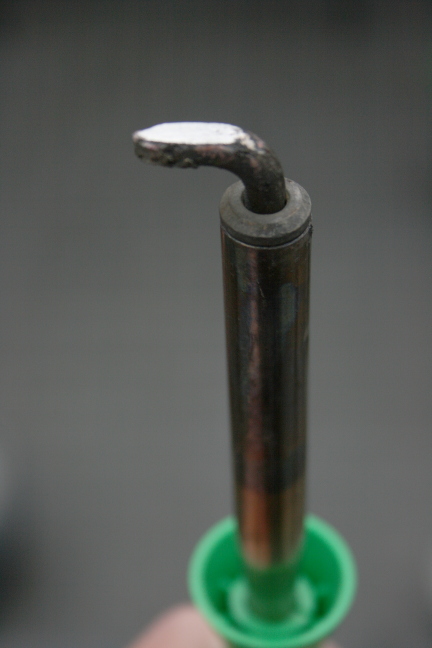
Then I remodeled the original solder bit, by simply bending the last 15mm of the bit by 90 degr, and filing the 15mm tip end flat to create a soldering surface. Then tin it.
De-soldering an MRF300 FET was surprisingly easy done
in just 15 seconds, WITHOUT ANY DAMAGE THE PCB.
Firtsly let warm up the solder iron until solder on the tip melted. Do not let
rise the temperature so high, that the PCB is damaged.
In the mean time I removed al excess solder from the PCB fet traces.
Then pushed the pre-tinned bit in contact with all three FET pins.
Heated the three pins for a few seconds until the solder on the PCB flowed.
Then, using a pincette, simply shifted the FET away from the PCB tracks.
As last, removed remaining solder from the PCB.
Done.